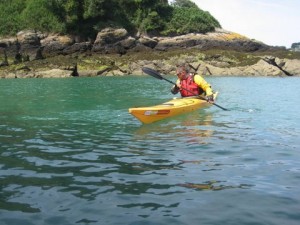
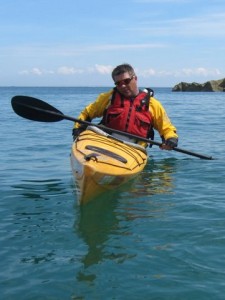
Essential sea kayak skills- Edging and tilted turns
I’ve been a bit surprised at the number of sit inside sea kayakers who have been paddling a while but have still to master edging as a way of steering the kayak while paddling forwards.
Quite why this shroud be the case is hard to ascertain. I suspect that when learning to sea kayak the idea of tilting the kayak off balance to initiate a turn or steer is something paddlers are a bit unsure to try in case they take a dip. Having completed a training course they may not revisit edging their sea kayak . They paddle with friends or club paddlers where there is perhaps not much coaching going on.
Luckily Keith is well aware of the importance of developing essential sea kayak skills and kayak fishing in spots that he can’t get to at the moment. Fish will need to watch out when he hits those spots. Read his take on the session in his Jersey Bass guides blog.
Edging basics
You need to be sitting in the right design of kayak that suits your size and weight.
If the kayak is too high performance all your concentration is on the basic skills of staying upright. Learning new techniques takes second place. The trick is to find the right design. Remember what once felt like a great kayak when you first started may after a short time begin to feel a bit of a barge. This is a good reason to go on courses at centres which have a range of kayaks to try. For example we’ve got 6 different sit in kayak designs that suit most builds.
Keith has been using an Avocet. A great kayak but perhaps a bit small for him at the moment. Learning was a secondary issue while he tried to remain upright.
I selected an Esky 15 or Aquanaut HV. Both kayaks edge well and I like the way you can drop the Esky onto a chine. The Esky also has a bit of a ‘comfort zone’ which allows you to make a few errors and still stay upright.
As things turned out Keith spent the entire class in the Esky.
Fitting out the kayak
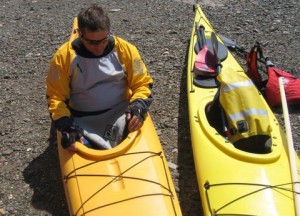
Are you sitting comfortably? There is little point in working on edging skills if you do not fit your kayak well. Take a look a this site for some ideas on fitting out your kayak.
The kayak needs to respond to your movements.
If the top of your hips are below the cockpit rim the kayak may be a bit big for you. Add a booster seat (more foam padding). I use a bit of sleeping mat cut and stuck together.
Padding the side of the seat and the areas your knees and thighs will be in contact with improves connectivity.
Edging
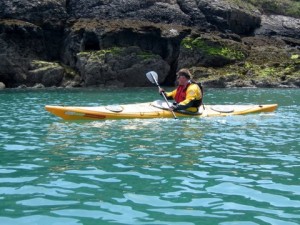
Key is the transfer of weight to steer and even turn the kayak. I liken it it the carving turn on skis.-a weight transfer- except in the kayak you are weighting the left or right buttock while upward pressure (brace) is applied on the opposite raised leg.
The leg on the weighted side straightens to press against the foot rest as more pressure is applied. This is on the same side as the paddle action. The kayak will begin to turn opposite to the side the edge is applied. Some find it helpful to think of the action as a bit like a sweep stroke with tilt but without the paddle sweep action. Some liken it to a carving turn.
I suggested Keith really focus on this and over learned by applying a lot of pressure on the weighted side foot rest.
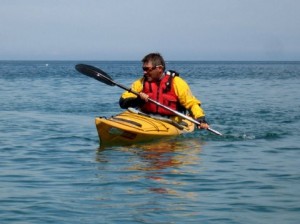
Keith got the hang of sitting off balance and more importantly started to realise that you can tilt the kayak over a lot more than he’d thought.
You can see edging in action on this Canoe and kayak magazine video.
Inside and outside edges
Get used to tilting the kayak either towards or away from the paddle stroke. This is a great way to discover just how manoeuvrable a sea kayak can be.
I set Keith the target of pivoting the kayak directly beneath his bottom. A handy bit of Jap weed acted as a reference point when trying to turn the kayak within its length
Keith looks in the direction he wants to turn the kayak. This sets the body up to make a better turn. The aim is to pivot the kayak below the body rather than around the paddle.
Focus on what the lower body is doing, especially the legs, hips and thighs. This is why you need good connection with the kayak.
When edging the leg on the same side of the tilt straightens. I suggested he really focus on this and really pressed on the foot rest when trying this out. The other leg was pressed on the thigh brace. The amount of pressure varied depending on the turn.
Where the legs make contact varies between designs and also depends on the build of paddler.
Keith had been told to keep his heels touching each other. Fine in a small kayak but not so easy if the foot rests are wider. Sometimes paddlers can get quite dogmatic. While this may work for them it may not be the case for others.
Instead of worrying about which bit made contact I set him the task to turn the kayak in as tight a turn as possible in the most efficient way.
Tilted turns with the sea kayak
Just how far can you tilt a kayak.? A lot further than you think.
We tried tilting the kayak over while holding the other side. Cockpit rim in water was possible by the second attempt. A handy confidence booster as Keith had come expecting to fall in today. I expected him to stay dry.
Once we got over this bit forward paddling with edging really came together.
So why was edging such a big issue in the first place.
From our discussion we identified a few points:
- Paddling a kayak that was not suited to his size, build and level of skill (at this stage) meant he was to busy focussing on staying upright to bother about other techniques.
- Worry less about “is it the right way” and instead focus on “does it work efficiently for you”.
- Listening to paddlers who are not coaches can sometimes result in conflicting advice. What they had told him was not wrong as it worked for them ok but they were at various levels of experience, skill, build and weights.
- Books and videos can emphasize different aspects. Sometimes you just need to get some coaching and kick ideas around to see what works best for you.
Next it was time to get him paddling with a broomstick. That’s another story.

